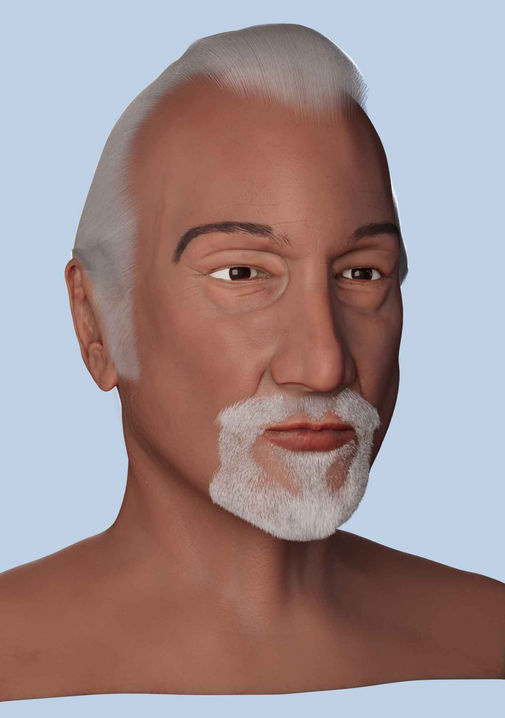
Simon Randall
Digital Creator
CHARACTER BIBLE
Recreating Rick Baker in Zbrush
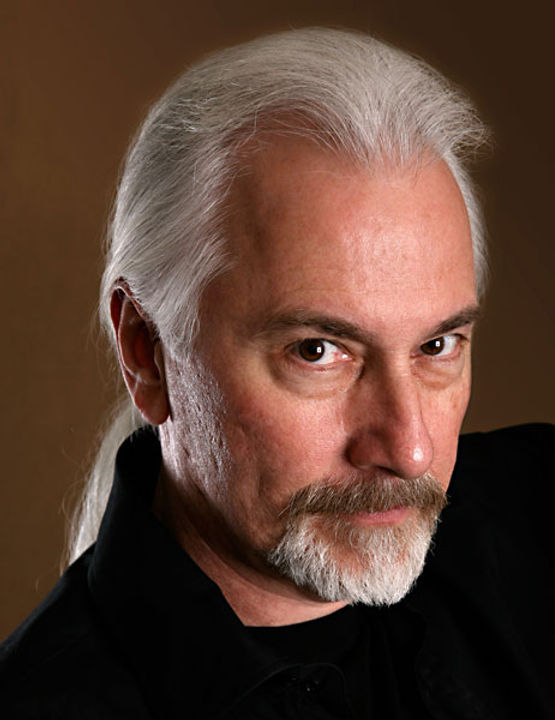
Rick Baker is a Hollywood legend. A master of special makeup effects he won the inaugural Academy Award for Best Makeup in 1981. During his career he won seven Oscars from eleven nominations. He even has a star on the Hollywood walk of Fame. When digital started to take over the industry Rick adapted and learned to use the new software tools that were coming out. He would use his sculpting prowess to help develop and improve digital sculpting tools, namely Zbrush, which is the film/game industry standard for sculpting 3d characters. It is also the tool that, through this assignment, I am attempting to learn. So who better to recreate in that very software?
RESEARCH & REFERENCE


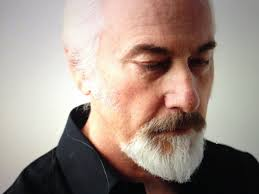


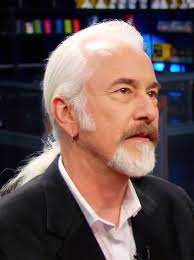


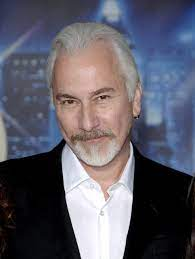

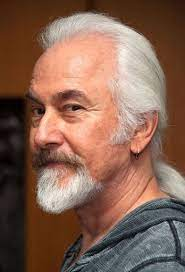


Rick Bakers career spans over fifty years. That's a lot of mileage and ages. So how to decide what my render should look like? Well availability of images is a big factor. A selection of angles from within a ten year span is preferable. In Rick Bakers case his hair and beard have become integral to his brand image. Trouble is there isn't a lot of high resolution images. There's some HD video but mostly it's relatively low res stuff. Even when you factor in his acting cameos. Importantly a clean shaven Rick is incredibly rare at any age. Thankfully chins don't really age.


SCULPTING
Welcome to Zbrush, the virtual sculpting toolset that has a long association with my subject as not only was he was an early adopter of the software he also helped develop and improve on the sculpting tools so they would better emulate real world tooling.
BLOCKING

I started with a basic mesh which would be blocked out to follow the basic forms of the target head Initially I thought to use sketched out portrait & profile guides due to the low resolution of my reference images. That turned out to be less helpful, so I went back to the photos.
There is an idea that once you have made something you should delete it and start again. It reinforces the memory and helps you refine the process. It's daunting but worth it. One of those weaknesses being the mouth because Rick Baker is famous also for his beard and hair. Yes there are images of a cleanshaven Rick but they are fairly low resolution and about thirty years old.
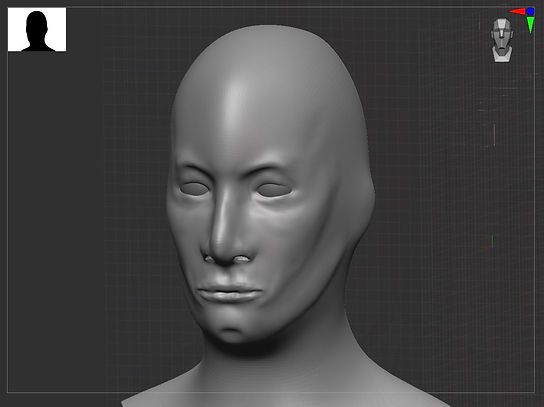
Starting with symmetry on the basic features are sketched out. Starting with the silhouette then defining structure. With eyeballs in place it was time to refine and detail the face so as to better represent a human being.

Then working on the shape. Undercutting the ear to separate it from the head and sculpting the inner details and canal.

Also the eye sockets needed filling out with eyebags and creases. Then the nasolabial lines and cheeks.

Now we re mesh the head so we can keep the poly count down. To help the re mesh retain important details we draw some guides for the edge loops that will be created.
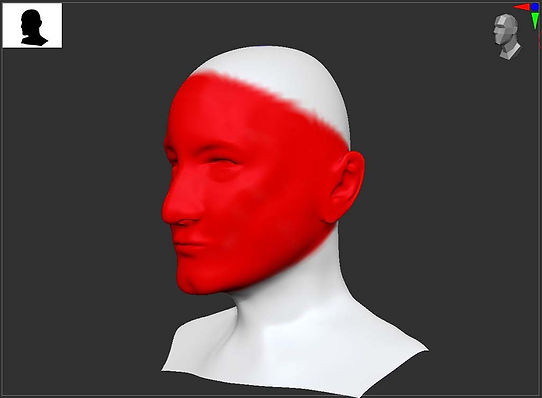
After remeshing the UV map needs to be created. This involves painting the head to look like a Cyberpunk Geisha and splitting it down the back. and un-wrapping it.
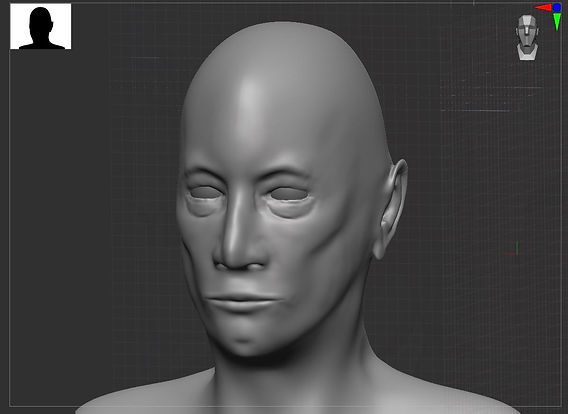

The ears took the longest. First a mask that can be extruded the area.

Working in symmetry mode means both ears are identical but in reality they are quite different. That will be addressed later.
A little selective re mesh to clean up the ear.

The finished 'base' head with all the key features. The mouth is still not right but it's a good starting point.

Re meshing requires two copies of the mesh. a High poly one and a low poly one.
We then bake high poly detail into the low poly mesh to create our base head ready for fine sculpting.
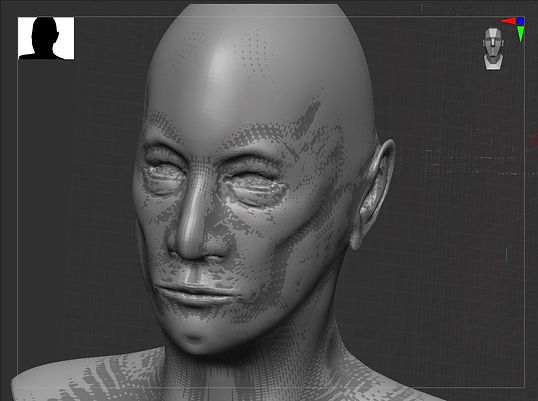
The new UV map looks like a DR Who villian. or a Buffalo Bill victim.
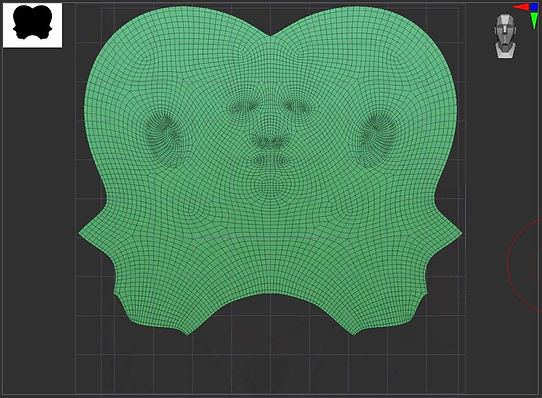

Once reprojection is complete we can loading the mesh into Maya where we can confirm the quality of the UVs by checking for stretching.
LIKENESS
Now to turn this blank head into Rick Baker. This will require a lot of fine detail and asymmetry. Luckily, just as I reach this stage, I find some nice high rez images. A few suffer from flash lighting, which washes out detail, but a few have better contrast. One even may become the base of my sculpts expression.


To help focus on the likeness we add some Fibremesh hair. Nothing fancy just a basic preview version. Once over the creepiness it helps show where I am close and where I am way off target. Combing Fibremesh wasn't very successful, especially the ponytail, but it does look somewhat like Rick.


The eyes are just an image of an iris painted onto basic spheres with a gloss coat.
REFINING SCULTURAL DETAIL
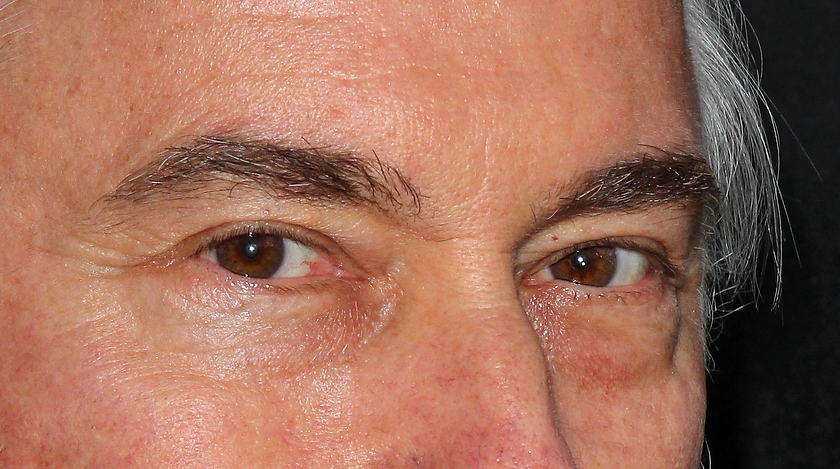
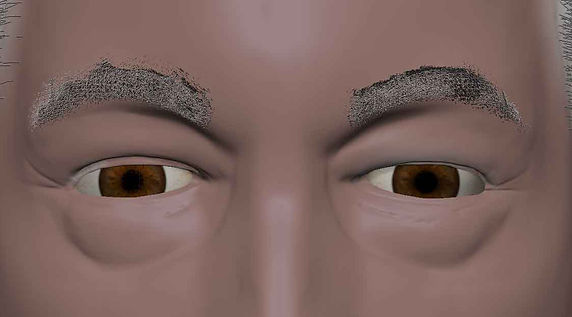
The eyes, for me, are proving to be the most difficult. It's the scale of things like eyelids and the overhanging eye hoods. Getting the thickness of the eyelids correct is an ongoing battle.
I broke symmetry early, because I hate the unnatural look of a mirrored face and needed to improve the likeness so I could better judge the accuracy and problem areas.
The problem is you basically have to ruin an area to improve it.
Early eyes were fairly flat and lacked age lines and the symmetry undermines the likeness.
Reworked eyes have the difference in eye hood overhang and enlarged eyebags. although the eyelids need to be redefined (an ongoing battle). Prominent wrinkles don't show up too well, I may need to selectively raise the division level just for the eye area to achieve the level of detail, but there are also special detail brushes.


Ears are like fingerprints, each one is unique. Absolutely no symmetry.
The hardest part was the undercutting. The three-dimensional definition of each shape that had to still fit inside the overall ear shape without breaking the geometry. A lot of Dam-standard and smoothing brush reworking was needed, but again the level of detail suggests a higher division level is needed.
Unfortunately some of the Fibremesh hair is broken so it looks like he has ingrowing ear hairs.


Unfortunately some of the Fibremesh hair is broken so it looks like he has ingrowing ear hairs.


As well as being able to adjust the camera lens, to try to better match image distortion, Zbrush has a lighting system. So if some of the wrinkles don't show up I can reposition the lights to create better shadows. Also some of Ricks portraits are staged for dramatic effect.

FINE DETAIL
Bone structure and overall head shape is less than half the journey. A blank head can look like several people but when you add the skin tones it will become Rick.

Considering his age, currently in his eighties, there aren't too many obvious wrinkles. It' only when you get up close that you start to see the unique characteristics that create Ricks identifying features.
After a general covering of a noise texture, using a skin alpha texture it was time to focus on individual areas.
EYE DETAILING
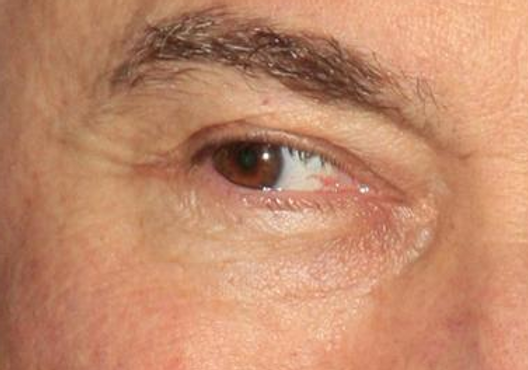
They eyes may have been the hardest to sculpt but texturing them wasn't. One nice high rez photo and I could see the fine stretch marks/creases, the 'orange peel' detail in the corners and the over all skin cell pattern. It's a complete transformation, and of course the eyes are asymmetrical so each one is textured individually.

JAW LINE
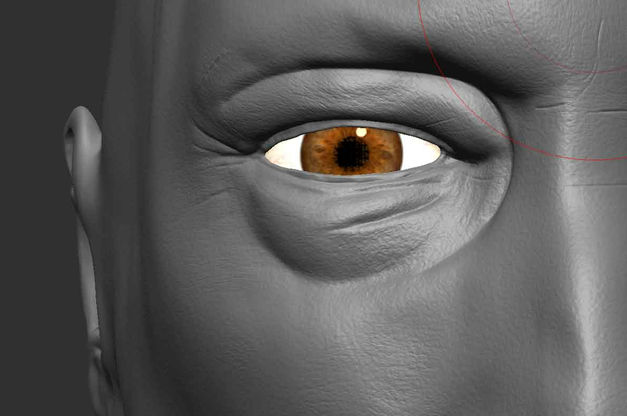
It doesn't show up very well but Rick Baker has pockmarks in the beard area, along the jaw line and neck. So I resized a skin texture layer in this extra detail.

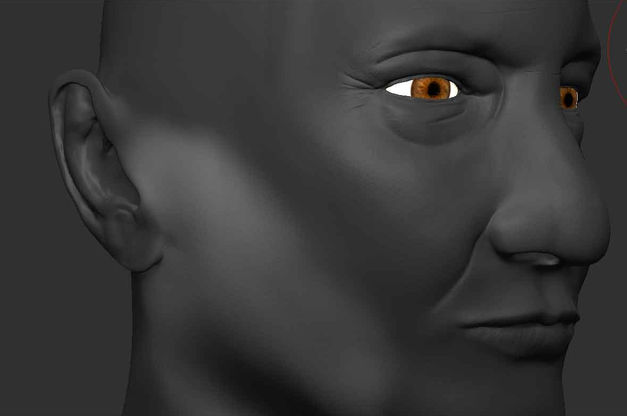
First I created a new layer. This way I could edit this specific texture without spoiling any others. Then a very soft edged mask because when I enlarged the texture I only wanted to affect a specific area.
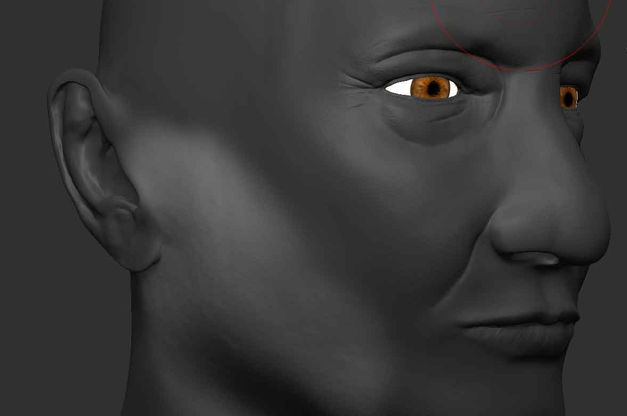

The same was done on the other side, creating some subtle variation and asymmetry.
LIPS
I smoothed out the clearly symmetrical brush strokes and masked out the lips. Then used a custom skin brush to create a better lip look.


NECK
There are no descent pictures of Rick Bakers neck. Muscle detail, Adams apple, there is no clear view. As it is his neck is rather loose and smooth, any real definition is when he turns his head to either side. So, after adding the key creases and some more mottled patches, I subtly added some side muscle definition and used the inflate brush to bring out the Adams apple area. It may not be accurate but it is an improvement.


FACE
After adding some pore detail and micro stretch marks on the nose and cheeks it was time for a review. Then touching up any areas that looked neglected, but again, Rick Bakers face is rather smooth for a man in his eighties.


This is when i discovered that neck sculpt had to be redone because the inflate tool caused pinholes to appear on the front of the neck. The brush details were splitting creating holes in the mesh.
DISPLACEMENT MAP
Sitting at Twenty nine million polygons my head sculpt is too large to be used as a game or animation asset. The low division head, in Zbrush, is four hundred and thirty two thousand polygons. If I use the decimate function it should be even smaller but the file size almost triples.

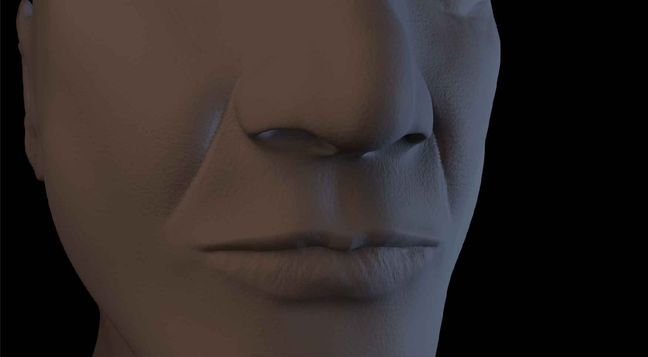
Zbrush lets you save out the surface detail as a displacement map. A bit like the remeshing I did earlier it allows you to use a lower poly count mesh but instead of projecting fake painted details a displacement map can deform the geometry. In fact whilst I need to lower the poly count there still needs to be enough to accurately deform to the map.
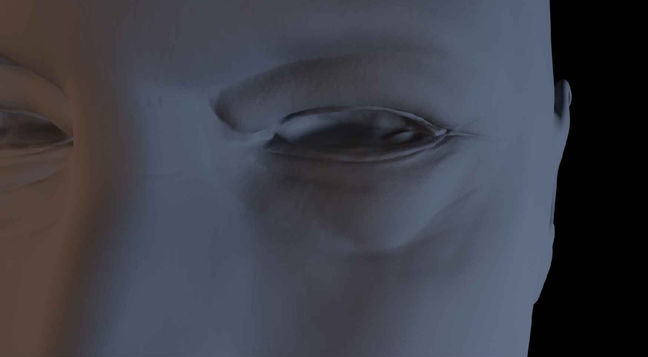
Plain sculpt
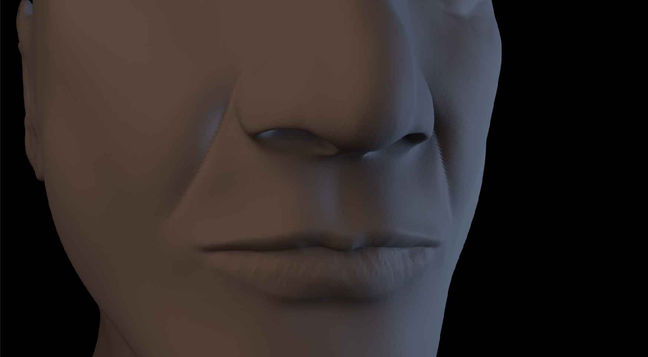
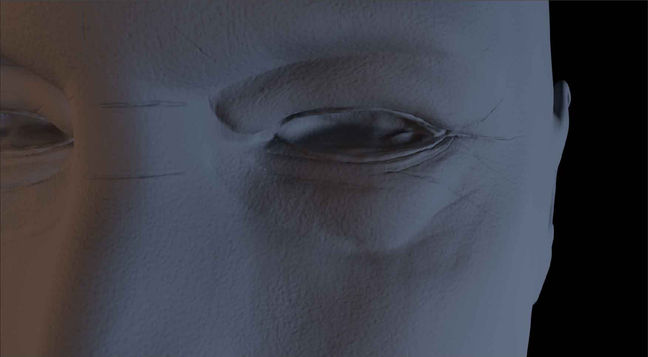
Displacement map
SKIN
I opted to paint the skin in Substance paint. Maximising flexibility and control.
Skin is made up of three basic layers and that is how you build it up in Substance Paint. Only you use a lot more layers.
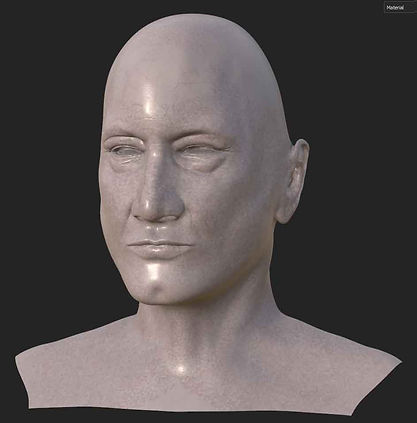
Base flesh
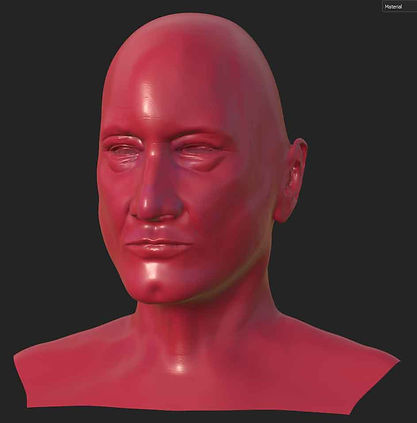
Subsurface veins and colour
Colour variant
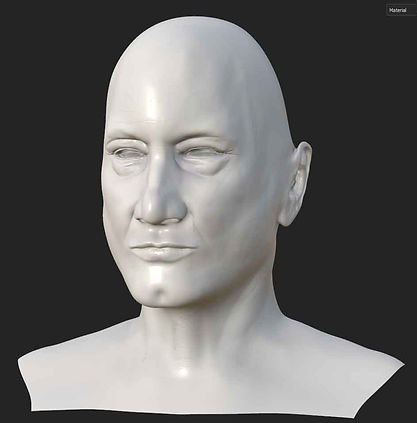
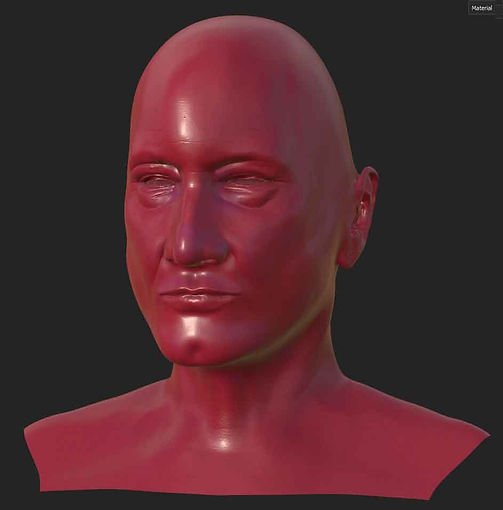
The final base flesh
The outer flesh isn't just a layer of pink. It has variation in thickness and colour. Then there is the weather damage. Some of this was all over but, for accuracy, a lot of localised work was needed.
All the small colour variation and details that you normally don't see but that make each face unique.

I used two layers for the redness because the T zone, under eyes and nose, required additional paint details work.


A full Substance Painter render with an additional roughness map for the lips and oily skin,
SUBSURFACE SCATTERING
Now we get into subsurface scattering. The slight translucency of flesh that creates a depth to skin the pale outer and the red inner abd weins that subtly show through.
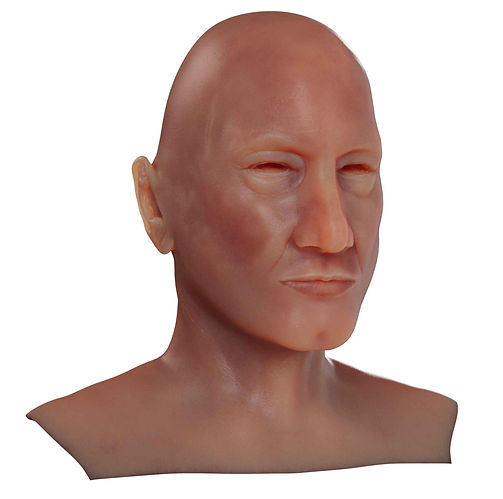
In Maya subsurface scattering has three main controls. Two layer colours, outer & inner & the depth setting. You can apply the skin texture to the outer level to create a more accurate tone variation.
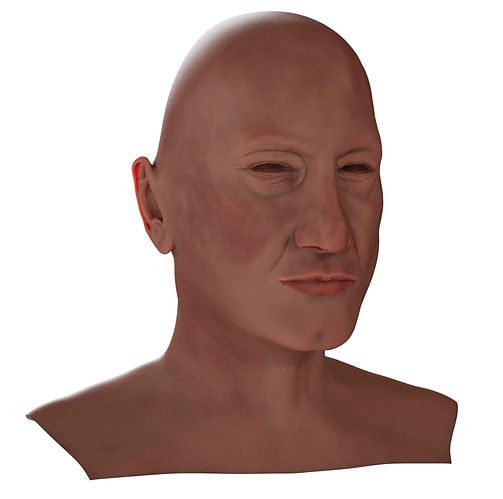
The subsurface depth is where the character can turn from a waxwork to ballistic gel science dummy. Some times you may have to go back and adjust the strength of the texture because of how it looks with the susurface effect.

EYES
The eyes are the windows to the soul. They are also a little deceiving.
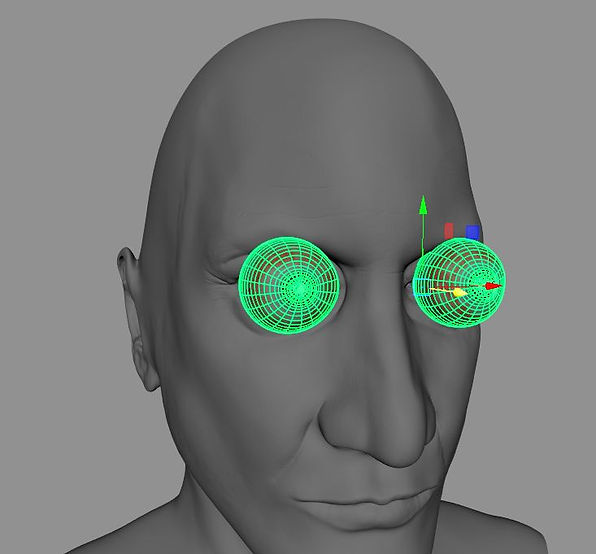
Eyeballs are surprisingly large. Really large. They extend beyond the corners of the sockets. So while the pupils might seem small, once they inside the head it all makes sense
Eyeball are not symmetrical. There is a bulge on the nose side, it's where a major muscle connects.
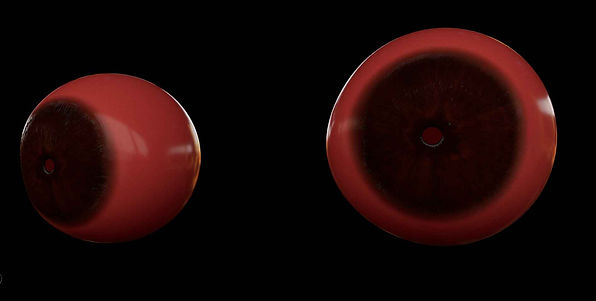
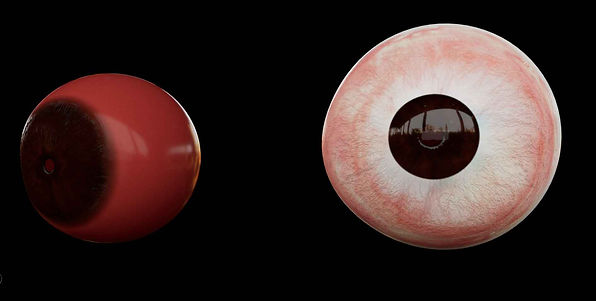
It might look like a strange fruit but it's the inner eye layer.
With a deep bump map for the iris. The second, outer layer is the white of the eye and the cornea.

The level of veins and there redness is controlled by level sliders in the material. There is also a bump map for the veins
HAIR
An identifying feature of Rick Baker is his white hair and long ponytail.
BROWS

Mayas Xgen hair is easy to work with. so long as you use a low poly mesh. Mark the area you want to grow hair on then paint a mask to control the coverage, The strength of the paintbrush brush controls the density. Separate grooming tool allow you to comb the hair and control it's direction.


LASHES
Same process for the lashes. Rick doesn't have many.
The issue here is that the low poly head means that things may line up too well with the high poly mesh.


BEARD
It would have been a good idea to make the moustache separately, because of the colour difference, but maybe next time.
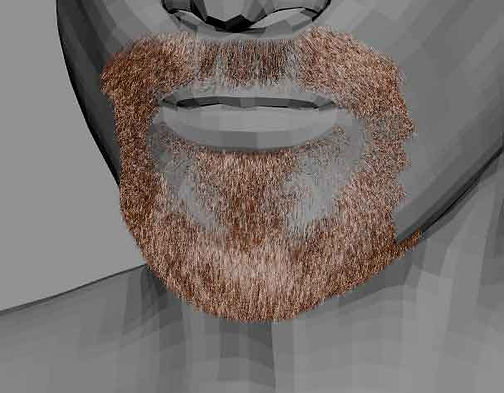
The beard required a lot of soft edge brush work to create the fade under the chin and those thin patches under the mouth. Then it was a matter grooming in several directions and then separate lengths for the mustache, sides, center and chin.
Additional modifiers let you create slight hair clumping and adding noise creates that lived in look.
HAIR
The head hair is literally a bald cap that you paint onto the head, just like a wig. Just like the other facial hair you paint more than you need and then you use the mask paint to control and shape the hairline.


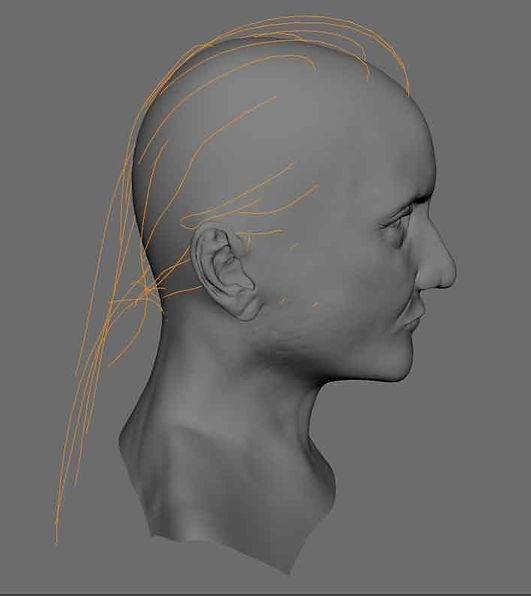
The guide hair are what you use to mark the edges/limits of the hair growth, which you then fine tune with the mask brush.
Ricks has a high widows peak that is also rather thin. Whilst the main body of hair is thicker.
Also it is all rather long so, longer guide hairs needed extra grooming. following the shape of the head and trying to bunch together for the ponytail.
I included the sideburns in this map. Based on photographs they vary a lot so, I just marked them out by eye and kept them short.
Noise and clumping was added to try to sell the home styling feel.
PEACH FUZZ
Most of the time you don't notice it, but it makes a real difference to the realism of a body. Think the robots in AI the movie. No body hair makes them feel odd. Xgen has a built in peach fuzz generator.

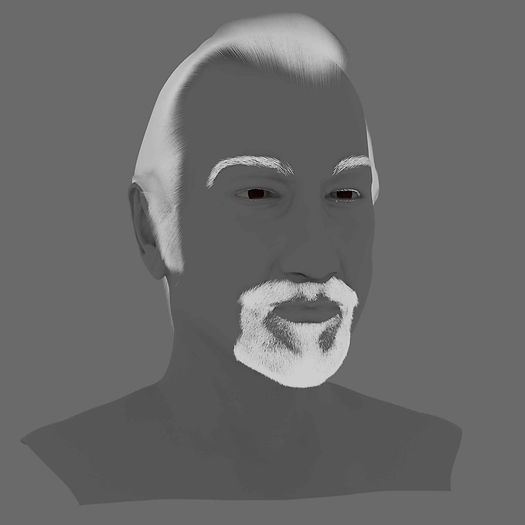
The finished groom. Things don't quite line up with the high poly head but it's not spoiling the look.
HAIR COLOUR
The suggested way to colour the hair was with Mayas aiHair material. It lets you control root and tip colour separately as well as the strength of the melanin, this is what gives hair it's colour, unless it's dyed.

Trouble is white hair has no melanin, that's what causes the paleness. More importantly though, the secret of white hair is it is translucent. The aiHair material can't do that. That's why the hair has a strange shading/shadowing.

So, I used the aistandard material which does allow translucence. It still looks like hair and it gets rid of the strange shading.
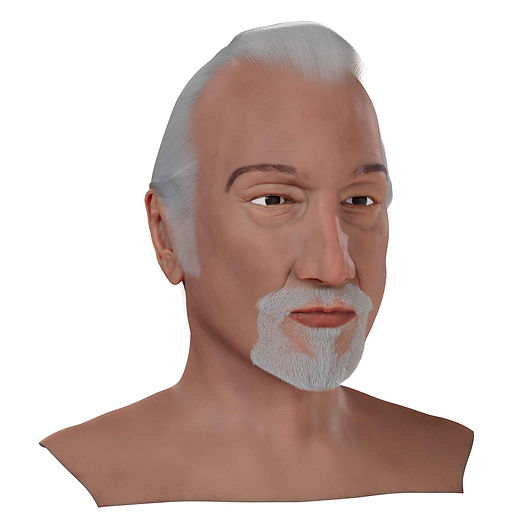
I later discovered that there are is another hair material that is a better version and gets the proper results.
FINAL PORTRAIT
What comes next is a lot of test renders and amall adjustments to settings. I also went back to Substance Painter to adjust the sun damage. That's why I created that second layer. Once things looked right it was time for some high level renders.
A breakdown clip showing the sculpt buildup.
The final render. There are still details that are not quite there and there but for a first try I'm happy.